Reddit Reddit reviews DOZYANT 2" Stainless Steel BBQ Barbecue Charcoal Grill Pit Wood Smoker Temperature Gauge Grill Pit Thermometer Fahrenheit for Barbecue Meat Cooking Beef Pork Lamb

We found 3 Reddit comments about DOZYANT 2" Stainless Steel BBQ Barbecue Charcoal Grill Pit Wood Smoker Temperature Gauge Grill Pit Thermometer Fahrenheit for Barbecue Meat Cooking Beef Pork Lamb. Here are the top ones, ranked by their Reddit score.

Grills & Outdoor Cooking
Outdoor Cooking Tools & Accessories
Patio, Lawn & Garden
Grill Thermometers
DOZYANT 2
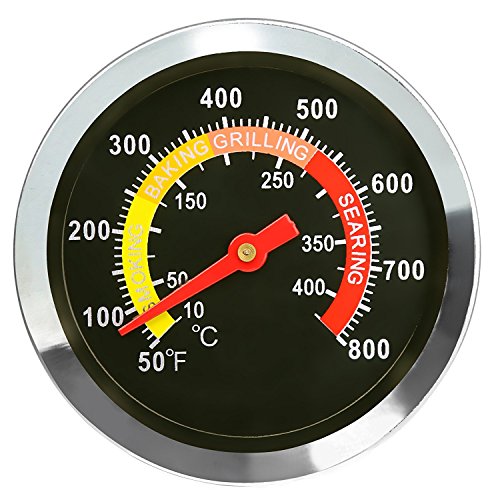
The 2" large face of the temperature gauge makes it easy to read and classify the temperature of your food. The Stem is 2 7/8"For maximum durability and reliability the case is made out of stainless steel. This is not only safe but also environmentally friendlyEasy to install on your grill, oven or oven panel for convenient usageThe surface of the temperature gauge is waterproof and will not get foggy due to the heat so that you can read the temperature at any time you wish to do soThe temperature range goes from 50F~800F (2% measuring accuracy)
Check price on Amazon

3 Reddit comments about DOZYANT 2" Stainless Steel BBQ Barbecue Charcoal Grill Pit Wood Smoker Temperature Gauge Grill Pit Thermometer Fahrenheit for Barbecue Meat Cooking Beef Pork Lamb:

u/Toph19 · 2 pointsr/BBQ

You're on the right track. The single barrel UDS upright is really only 4 main parts. You have your drum, a fire basket, grate, and lid. I'm at work otherwise I would take pics of mine and walk you through it. Might be able to still do that later but here are a couple things to look at to get you started. link cross section

I have a heat deflector on my charcoal basket as well. It was cheaper to just make a clover shape deflector out of 3 pizza pans with a bolt through the edge. All about getting creative.

Here's a write up of how I made mine:

  1. Burn out the drum - I burned out the drum with a propane weed burner. You can buy one pretty cheap from Harbor Freight or rent one from a local place. I burned out the liner of the drum really well so that the liner didn't come off and end up in my food. Took about 2 hours of good burning and vigorous steel brushing to clean it up to my satisfaction.

  2. Fire basket - I cannibalized an old Weber grill for a bunch of parts for this build. I used the charcoal grate, some expanded metal mesh, and some steel zip ties to form a basket shape. A few inches of threaded rod with some washers and nuts to fasten it to the grate for legs and boom - fire basket is good to go.

  3. Lid - I used an old Weber 22" lid for this so I could have a middle and top rack in my smoker. I flared out the edge and riveted on a piece of tin to make it a little wider since the original size was roughly the same as the barrel and you want a nice fit. You can go with a flat top and add a stack or get creative. Just keep in mind the airflow.

  4. Burn 'n' beer. I was still unsure of the chemicals ending up in my food so I decided to take a break. Loaded up the barrel with some good hard wood and started a hobo campfire. Buddy and I drank some beers and relaxed for a bit while that sucker got spit-jumping hot - as in, we would spit on the outside and it would appear to bounce off.

  5. Air inflow - This was the hardest part for me. I used salvaged black pipe and made intake pipes that went in at the bottom and ran parallel to the drum up to the top where it was finished with a couple gate valves. I liked the valves for controlling the air flow but found that the 2 x 1" pipes weren't enough. So I ended up putting two more "always open" holes about 2" above the bottom. That seemed to fix it and give me the control I wanted.

  6. Paint - you don't have to, but if you're gonna spend the money, you may as well protect your investment. I used Rustoleum High Heat and it worked well. I've seen some people get crazy with designs but that's totally up to you.
  7. Racks and Temp Guage - I installed the racks by resting them on self tapping metal screws put through from the outside. Only had to put two in because I ended up adding U-bolts to support the black pipe intake valves and they poked through far enough to rest the grate on. The temp guage that i installed was just a cheapo grill one - nothing special but it gets the job done.

    Now I don't move mine far so I never installed the castors that I was planning on using. I had the basic design in my head of using angle iron and basically making a permanent hand truck that attaches to the side of the drum and all you had to do to move it was tilt the drum onto the wheels and you're off.

    This is a pretty rough write up and I apologize for the lack of pics. If I can find my build pics, I'll post them here. Let me know if you have any questions or if I can help!
u/fsutailgating · 1 pointr/CFB

Thanks! Just used a generic thermometer from amazon.com. However, the purists swear by Teltru Thermometers, which are substantially more expensive.