Reddit 
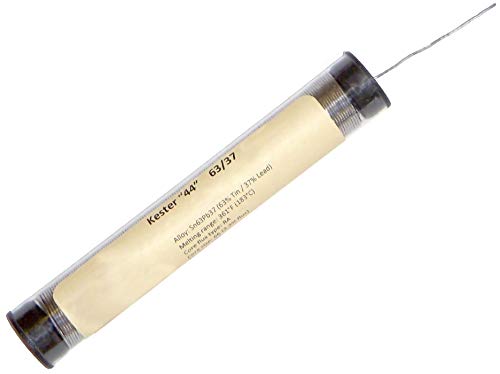
Reddit reviews Kester 44 Solder Wire, 63/37 0.015-in, RMA Rosin, 1/2-ounce Tube

We found 1 Reddit comments about Kester 44 Solder Wire, 63/37 0.015-in, RMA Rosin, 1/2-ounce Tube. Here are the top ones, ranked by their Reddit score.

Kester 44 Solder Wire, 63/37 0.015-in, RMA Rosin, 1/2-ounce Tube
Specially repackaged by TekLine Supply1/2-Ounce pocket size pack contains approx 56 feet of solder!67/37 Tin/Lead is most common for electronics work.015" Diameter is most common for fine-pitch electronics workHigh activity RA formulation
Check price on Amazon

1 Reddit comment about Kester 44 Solder Wire, 63/37 0.015-in, RMA Rosin, 1/2-ounce Tube:

u/IchigoKyger ยท 48 pointsr/SwitchHaxing

I would only suggest doing this mod if you are extremely comfortable with a soldering iron. I'm not responsible if you mess up your Joy-Con. With that being said below are the things I used to make this possible:

Parts

  1. Take apart your Joy-Con.
  2. Run two wires from the Pin 10 pad and the ground as shown in this picture: https://i.imgur.com/mpbtqVQ.jpg Leave some extra wire so you can cut to size later. Soldering to the ground plain can be a pain I brought my Iron up to 750 F, used a bigger tip and had to hold it there for awhile before it would become molten.
  3. Re-assemble your Joy-Con up to putting the back on it.
  4. Take the 6mm x 6mm x 6mm Tactile push button and cut off the leads on one side and bend the other leads flat.
  5. Cut two small pieces of weather seal and place them on top of each other and hot-glue the button to the top of it.
  6. Place your weather seal and button down to the left side below the battery so it doen't interfere with the rail.
  7. Cut your wires to size and solder each wire to their own lead on the button.
  8. Place your back cover on to the Joy-Con to see where the button is and make a mark in the center of the button.
  9. Remove the back cover and slowly drill a hole stepping up bit sizes until the button fits in.
  10. Re-assemble and enjoy!

    More pictures