 Reddit reviews Camco 02583 4500W 240V Screw-In Foldback Water Heater Element - Low Watt Density, Silver / Pewter
We found 2 Reddit comments about Camco 02583 4500W 240V Screw-In Foldback Water Heater Element - Low Watt Density, Silver / Pewter. Here are the top ones, ranked by their Reddit score.
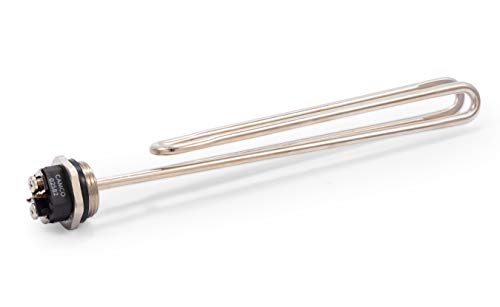
Low Watt Density heating element240V/4500WUL ListedEasy to InstallMinimum tank diameter 13"
I've got a compact RIMS machine that I built into a 19" toolbox. It's roughly the same idea as the one you linked, but all packaged up a bit tidier. I wrote a post about it a while back. Lemme find it.
Found it. Not everything necessarily relevant, but it's got a few details that helped some other folks.
> For something like a RIMS where you mostly just need to hold temperature, 110v is plenty. It's actually useful. The element is just a big resistor it doesn't really know or care what voltage runs through it. When you step down voltage by half, you actually quarter the power output (through the combination of Joule's and Ohm's laws, P=V^2 / R ). That means you can use low density elements intended for 220v operation and run them at quarter power on 110v and get super low watt densities.
>
> It's the wattage and how you distribute that through your wort that are the important parts. You want low density because you want to spread the heat out in your wort as much as possible. Higher wattage and higher density can lead to boiling and/or scorching in your tube. /u/GrizzlyBearKolsch had this problem with his setup. Luckily, his PID controller allowed him to adjust the timing enough to overcome it. I use a 220v, low-density, 4500W element, but I run it at 110v for about 1100W. It takes about half an hour to heat my strike and it fires for about half a second once every few seconds to maintain temperature. It's powerful enough to do the job, but gentle enough that it doesn't burn anything when running flat out.
>
> There are a couple of regular recommendations for PID controllers. Auber makes a well-built, well-documented model that basically the go-to for this kind of thing. If you want to spend a bit less and you're willing to put up with some really badly translated Chinese instructions, the Mypin TA4 also gets a decent amount of use.
>
> I'd recommend silicone tube for just about anything. Either three-eighths or half-inch depending on your preference. It's highly heat resistant, maintains its shape, and it's clear enough to see wort in it.
>
> Chugger or March are the perennial recommendations for pumps, but kind of overkill. I use a 12v DC solar pump for my setup. I've used this style for other builds and it has also worked pretty well. These lower power pumps are a decent fit for this kind of setup because they're compact and they're adequate flow but not so high that you need to bother throttling them.
>
> I use a separate heat stick for my boil kettle because my apartment stove can't quite boil 6+ gallons comfortably. It's a dead simple 1400W element hooked up through some drainage pipe. Just plug it in and it gets hot. Same as any other build you see on the Internet.
sure. which parts do you need more detail on?
so take an SCR controller. this one is nice as it has the digital display. that saves you with the bother of an ammeter or voltmeter. this will leave you with a dial control for increasing or decreasing power to your unit.
220 from your wall goes into the SCR. if you want it cheap get the power cord off of a craigslist (etc) free stove or dryer.
power out goes to your hot water tank element. they say that ultra low watt density is best. but low watt fold back ones are usually fine too.
your element screws into one of these . they are available from a number of suppliers.
to prepare the keggle, simply remove the spear, and then cut what is normally the bottom of the keg off (its quietest if you do this with the keg full. you might be able to find a disk to seal the ferrule up with, or even fill with water and then reinstall the spear, and do it upside down) now the sanke flange can be used as a 2" tri clamp ferrule. buy yourself a 2" TC clamp and gaskets
you'll need legs or a stand for the keggle. I'm sure you can figure that out.
now as that is you'll see that your hwt element sticks up the center of the keg from the bottom to about the middle of the keg. so. if you got yourself some 2" copper pipe - the same length as your element and hammer on an easy flange. for that basically you take a ballpeen hammer and work the ends down so that they are flat and 90° to the rest of the pipe. if that's a little thin for the TC clamp to attach to, you can put a hose clamp on it, and melt some solder in to beef it up. file it to shape and for smoothness. even better is if you can add a tee with at least a 1/2" but maybe as much as a 1" connection and then you get a bottom drain as well.