 Reddit reviews Elmer's Glue Stick (E579), Disappearing Purple, 3 Sticks
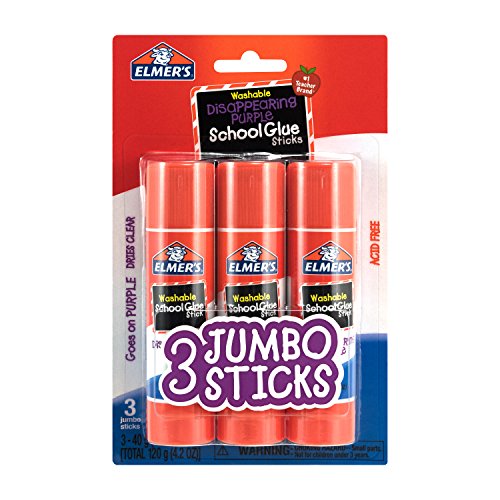
We found 4 Reddit comments about Elmer's Glue Stick (E579), Disappearing Purple, 3 Sticks. Here are the top ones, ranked by their Reddit score.
Dries clear and applies smoothly for a mess free appearanceSafe, acid free and non toxic formula is ideal for classroomsJumbo size makes for hours of art and School projectsThree, 40 gram (1.4 ounes) Elmer's craft glue sticks
+1 Purple glue stick and a proper bed level.
Elmer's Glue Stick (E579), Disappearing Purple, 3 Sticks https://www.amazon.com/dp/B00MZ5Q5QG/ref=cm_sw_r_cp_api_3wDYBb443TTSR
I also disagree, I print ABS all the time with a bed temp of 80C. I recommend [Elmers Glue stick] (http://www.amazon.com/Elmers-Jumbo-Glue-Stick-Pack/dp/B00MZ5Q5QG?ie=UTF8&psc=1&redirect=true&ref_=oh_aui_search_detailpage) to coat the bed as it's warming up. Let each layer dry prior to the next, but you'll want a couple layers before the print starts.
The best solution you can get for printing PETG without any warping is a glass bed with PVA glue. I would highly recommend getting a borosilicate (Pyrex) glass plate. Borosilicate glass has a VERY low coefficient for thermal expansion so it extremely resistant to thermal shock and the breakage that comes with it. I had the piece of glass for my CR-10 cut to size at a local glass shop as glass beds were not offered anywhere for the CR-10 at the time. However now you can go on Amazon and pay a very reasonable price for a nice glass bed. Such as this which is less than half the price that I had to pay about two years ago. Ooof!
Take your glass sheet and attach it directly on top of the metal heated bed that the CR-10 has with binder clips. It is a very simple but extremely effective way to keep the glass tightly attached without issue while also allowing a quick and simple process for removing prints and swapping print surfaces.
Then, it is time for the star of the show, the PVA glue! Now, before you get intimidated by the exotic sounding glue (like I did when I first heard about having to use it), just know that it is literally just Elmer's Disappearing Purple Gluestick. This is seriously one of the BEST tools for anyone who prints somewhat exotic or finicky materials. Uncap the glue and evenly coat the glass with a light coating and you are ready to go. When I say light, I mean just one pass over each spot, do not do more than one coat, that one coat is plenty! The best part is that it is disappearing, so when you apply the glue and it still has a bit of moisture, it is a dark purple, however once it sits for about 30 seconds on a bed that is heating up it loses its color and becomes more translucent so you can see exactly what parts of the bed are coated well and which parts you may need to touch up. When the glue has lost its color and the glass looks like it is a bit hazy or foggy then you are ready to print!
PETG can be a bit tricky to print if you are coming from PLA but it is very rewarding once you dial it in.
I would suggest that you either use a low fan setting of 25% or less (except when bridging which should be 100%) or do not use the fan at all (again unless bridging). PETG is a material that wants to stay hot and slowly cool on its own. It does not like to be hit with a fan instantly after being laid down like PLA. PETG actually fuses itself together at the layers which makes it have extremely strong layer adhesion, whereas a properly formed PETG print cannot be separated at the layer lines because of this fusing effect. (This is why you NEVER print PETG directly onto PEI as it can fuse with the PEI and tear the PEI off of the bed.)
​
I would also suggest that you run a hotter bed temperature. I personally print PETG with a bed temp between 85 and 100, depending on the brand of PETG I am using.
There is one VERY important end of print step to safely and successfully print PETG. When the print is finished, DO NOT let the bed cool to ambient temperature while the print is still attached! You MUST set your end of G Code to reduce the bed temperature to about 60% of the temperature it was while printing. This is a very important step so that your piece does not break your glass bed! This is especially important as the printed pieces get larger and have a larger contact surface with the bed. If you allow the print and glass bed to cool to ambient on their own then you are dramatically increasing the chance that the print will cool too rapidly and shrink while still attached to the glass and end up breaking the glass.
This may seem like a lot of things to do to print PETG but when you see the final result and how strong and beautiful PETG can be printed it is all well worth the effort.
​
One final tip about PETG is that it is very hygroscopic (not as bad as Nylon but still noticeable and much worse than PLA) and needs to be taken care of for it to print well. PETG needs to be stored in airtight bags with desiccant packs while it is being stored. PETG should never be left out in the open air for longer than it needs to be. If the roll is not currently supplying a print then it MUST be stored properly. If you allow your PETG to sit out and absorb the water from the air, it will print very poorly and never give good results. If you are printing PETG and can hear a crackling or hissing sound at the nozzle, then your PETG is too wet and needs to be fixed! The crackling and hissing sound that can be heard is the water that has been absorbed by the PETG being instantly boiled and turned to steam when it hits the hotend. This is most noticeable with Nylon but poorly kept PETG will also exhibit this same behavior.
​
If you have any questions or need me to clarify something please ask and I will gladly do my best to help! PETG is well worth the hassle and learning curve as the results that can be achieved with it are truly amazing.
What are you using to level the bed? Also where are you leveling it to? (above the bed screws are the right spot) I use a piece of receipt paper folded in half to level it.
It may be worth using a bed level gcode to assist with the human error or placement problems)
Also the stock springs may be bad these should help with the frequent bed leveling.
A glass bed may also help with adhesion with these