Best power sander hook & loop discs according to redditors
We found 51 Reddit comments discussing the best power sander hook & loop discs. We ranked the 29 resulting products by number of redditors who mentioned them. Here are the top 20.
We found 51 Reddit comments discussing the best power sander hook & loop discs. We ranked the 29 resulting products by number of redditors who mentioned them. Here are the top 20.


u/petthedino and /plotzkea here is the best way I could break it down. I tried to keep it simple but still detailed. If you have any questions just let me know!
Background: I have had this putter since I was 8 years old, we bought it from Edwin Watts brand new in Dallas and every member of my family has putted with it at some point in time. I looked into getting it refinished by the Scotty Custom Shop but it was going to run me over $300 to get it done. I figured I would give it a go myself I have absolutely no experience doing any kind of this stuff, this was my first ever attempt
Tools/Materials needed: I had or was able to borrow almost all of these before starting, which helped keep cost down.
Process
It's important to note my putter had no paint finish. It was oil can so the only paint I really had to remove was the logo's. If your putter is entirely painted you might have to adjust the steps accordingly
My steps were broken up by days. I worked a little after work each day and it made for a good week! If you guys try it and have any questions please message me!
Edit: several edits for clarity.
>It all depends on how bad it is. I use my ROS (random orbital sander) with 220 and then follow that with 400 then 00 steel wool.
220 grit seems a bit excessive. If you had a think caked-on layer of iron oxide on the surface... maybe. If it's just a light layer of rust, get some 600 grit and maybe some 1000 grit sanding discs for your orbital. Remember to throughly clean the metal dust with some type of solvent, ie alcohol, acetone, ever-clear (not even joking lol)...
Then... once its squeaky clean, hit it with some protective film. I use and aerosol dispersed Dry Lubricant with Teflon for a SUPER slick finish. You could also use BoeShield T9 witch is another aerosol that will leave a nice dry waxy film. if your not into aerosols, try good 'ol Paste Finishing Wax
Welcome to the WoodWorking Community 😊
I guess you could always take a large sheet of of particleboard and put some decently thick high-density carpeting on it (not that thin high traffic stuff). Particle board is great for deadening sound, far better than plywood or MDF. The carpet would help even more.
Then flip it over and put your rig directly on top of it.
If you need to take it a step further, these extremely affordable adhesive sanding pads can be stuck to the underside of your rig and they are made specifically to absorb vibration.
Sound deadening foam/sheets are incredibly expensive so only use them as a last resort,
Some people on BGG have gotten some ultra thin teflon stickers for their strikers. You can get them in bulk on Amazon.
https://www.amazon.com/CS-Hyde-Removal-Adhesive-Diameter/dp/B0099AMTBA/ref=mp_s_a_1_4?ie=UTF8&qid=1538696835&sr=1-4&pi=AC_SX236_SY340_FMwebp_QL65&keywords=CS+Hyde+Mouse+Discs&dpPl=1&dpID=41yOImP1OmL&ref=plSrch
You can try simply waxing the surface of the board and adding pads to the bottoms of the strikers.
I use Mother's pure carnauba wax (amazon), same as on my crokinole board. The maker of Muzzie's crokinole boards recommends Turtle Wax super hard shell paste wax instead (amazon).
Under the strikers I put teflon stickers (amazon). Other people seem to have good results with Scotch felt pads instead (amazon).
I did this to a new-ish board with two coats of wax and the striker movement was so slick, the game was difficult to play until the surface got some wear. The results won't be so dramatic with a well-worn board, but it goes to show that a bit of waxing will make a difference.
Micromesh sanding pads work but polishing compound is the same. Only difference is that the abrasive is attached to paper instead of in a medium.
micromesh
It'll actually do a much better job than you can possibly do by hand, though, and the final paint job will be much better for it. Plus, you have to remember the First Law of Tools: if I have the tool, I'll find opportunities to use it.
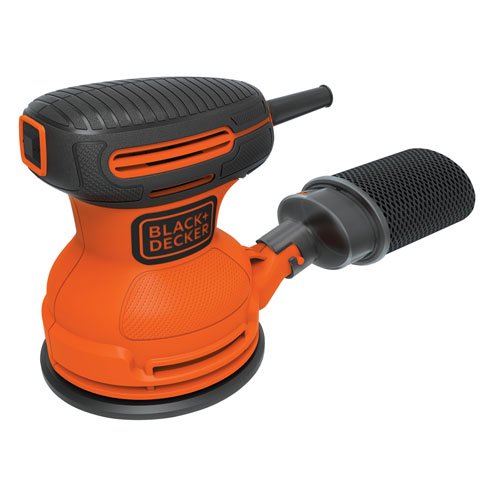
[This is a decent one] (https://www.amazon.com/Decker-BDERO100-Random-Sander-5-Inch/dp/B00MLSS1SW/ref=sr_1_2?ie=UTF8&qid=1493219365&sr=8-2&keywords=power+sander) for a pretty low price. I tend to stick with Black and Decker or Ryobi for power tools because they're very reliable and have excellent warranties, plus you can find compatible parts (like the sand paper refills) easily. You might consider adding this one to your wish list.
If you have a cordless drill, this attachment works wonders for ding repair.
https://www.amazon.com/dp/B06XDVSZQM/ref=cm_sw_r_cp_awdb_t1_UGaYAbXBR0A2T
Yeah I tend to scour Craigslist and local estate auctions for equipment and stuff I could modify. MPLS has some decent used equip from time to time, as does Duluth, but you have to be patient, and ready to jump when something comes up. There are some other good DYI suggestions people have made here. I have made a Flat lap for thundereggs and agate geodes with a 110V motor, an arbor adapter to convert my motor shaft to a threaded end that accepts angle grander attachments (5/8-11) and bought a 7" Velcro head and silicon carbide sand pads. Works awesome. I got the motor for $20 on craigslist, and everything else cost less than $60. Its basically a 'Richardson's Ranch Thunderegg polisher' clone. Richardsons Ranch uses a 3450 rpm motor, which I have, but I may switch it out to a 1725 rpm as it gets the stones hot quick.
https://smile.amazon.com/gp/product/B00MZKTWG6/ref=ppx_yo_dt_b_search_asin_title?ie=UTF8&psc=1
https://smile.amazon.com/Black-Heavy-Duty-Sanding-Discs/dp/B07CBCCBN9?ref_=ast_bbp_dp
https://smile.amazon.com/gp/product/B003ELTZ1W/ref=ppx_yo_dt_b_search_asin_title?ie=UTF8&psc=1
Muglug is right on every note. I'll just mention that I got my ROS here BLACK+DECKER BDERO100 Random Orbit Sander, 5-Inch https://www.amazon.com/dp/B00MLSS1SW/ref=cm_sw_r_cp_apa_i_nzyxCbMB3536X
Its not professional quality, but the price is right and, since you're just needing something for a DIY project, it will be fine for your purposes. You can also save a couple extra bucks by getting it through Amazon Warehouse Deals. In the frequently bought together, there's a 60 piece variety pack of sanding pads. It's more than you need, but you will probably pay about the same or more to buy individual packs of the different grits.
I gotcha. I guess the crux of the issue is that, since I'm new to the hobby, I have yet to establish a baseline for "normal" sanding time through the grits. Thus, I notice how excellently a 'fresh' piece acts and it seems like a huge difference versus a 'medium' piece.
Thanks for the the bulk buying tip. This is the set I bought as my first batch. I've noticed that I use the lower grits much much more than the higher grits so, for the next round, I'll probably buy a 25-50 pack of the lower ones for sure.
I also got a few 8.5x11 sheets of 80-400 but I've only used them for corners that I can't reach w/ the ROS so far, so they should last me a while.
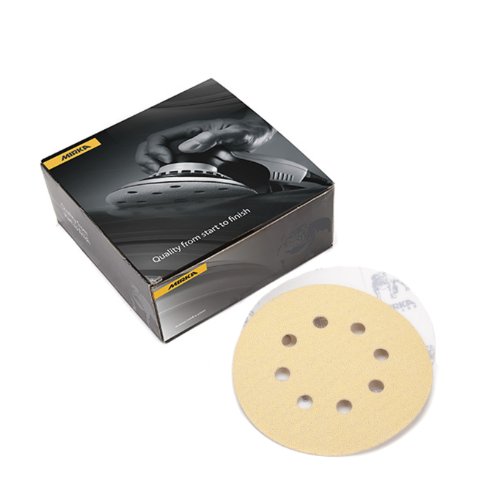
I like the mirka gold multipacks which gives 10 each of 5 different grits. That way it gives you a variety and you can buy 50 packs of the grits that you're running out of the most quickly.
link
Not sure if you have a menards in your area, but [this] (https://www.menards.com/main/tools/power-tools/sanders/performax-reg-1-1-amp-corded-5-bench-top-disc-sander/jd2504/p-1489990860962-c-10088.htm?tid=-333651309580431715&ipos=1) sander is what i was recommended. You can have the sander vertical or horizontal, based on your preference, and it's relatively cheap!
So, since this sander take PSA pads (pressure sensitive adhesive), and the available micromesh pads are hook and loop (think velcro), you need a few parts to convert it.
This is the PSA to Hook and Loop Conversion pad
This is a Hook and Loop Soft Pad. I'm not sure why I need this part, but it was apart of what was recommended to me for this whole thing to work.
And these are the micromesh pads. Same grit sizes as your standard micromesh variety, so it should get the job done.
All of the parts I needed for this are coming in today, so I should be able to test it out tonight! Let me know if you have any other questions.
I haven't had the chance yet. I cut them last summer/fall but until recently has been too cold to work outside. I cut them using a circular saw and a trickle of water so the cut isn't jagged or anything, but I vacillate between dry sanding with my DA orbital and just getting a cheap diamond polisher. If you do YouTube search for "DIY marble countertops" you can find some pretty informative vids. A couple of multi packs like this and this you can get a pretty passable finish with a palm sander. Just be patient and make sure all the scratches are out before you move on to the next grit.
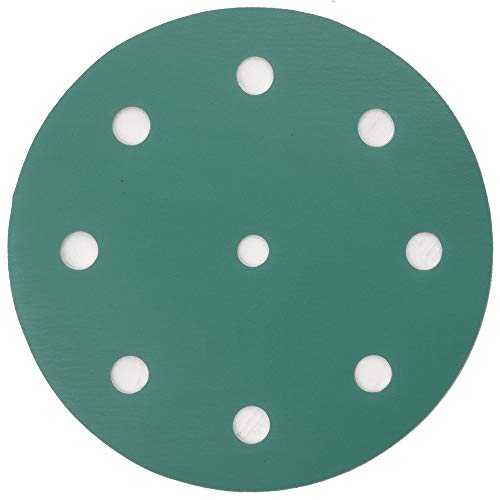
Amazon offers better prices. Example:
https://www.amazon.com/LotFancy-5-Inch-8-Hole-Sandpaper-Assortment/dp/B01LS2JGX0/ref=sr_1_3?crid=26Q5K0AQZA094&keywords=sanding+discs+5+inch+8+hole&qid=1562290592&s=gateway&sprefix=sanding+dis%2Caps%2C177&sr=8-3
It's between this orbit sander or this sheet sander
Pretty much this or this
You can sand those out with wet-dry sandpaper. Something this. If you have a power sander, you can use this.
Make sure you use water to lubricate, and sand the whole top evenly. Move through the grits until you are at ~3000. Between each grit, make sure you clean the top thoroughly. You don't want any of the old grit on the surface when you start with the new grit.
NOTE: you can stop before 3000 if you want a less polished look.
Then, you can optionally buff it out with an automotive buffer and polishing compound, if you want a polished finish.
Edit: Forgot to say that you should pick a "pattern", and stick to it. If you want it to be swirly pattern like this, use the circular sander. But, a straight pattern is more common.
I use these sand blaster
Not that brand and they're expensive but, when I need to weld on the body of my project truck before my SO starts finding things for me to do, it takes the paint off super quickly, then I use a wire wheel to get in the crevices.
Mirka
Mirka 23-615-AP Gold 5-Inch 8-Hole Dustless Hook-and-Loop Sanding Disks on my Bosch random orbital sander for the 100, 120, and 150 grit. The 80 grit was on my hand held belt sander...
It completely depends on your financial situation, but I would recommend just buying your own tools. You will get more than your moneys worth if you hang on to them for 5-10 years. Which is very easy with proper care.
Here are some cheaper yet not terrible options on Amazon. These should get most jobs done around the house.
Total of $48
If you want to go with another method outlined here you can use a regular drill. Tons of uses for a drill other than sanding down your skillet.
Total of $45
Seems like an angle grinder with the appropriate attachment would make this easier and not cost too much. Something like this http://www.amazon.com/3M-SandBlaster-9681-2-Inch-Clean-N-Strip/dp/B000BQURDI#productDetails or a wire wheel might do the trick.
I'd take the rail off, go outside and grind the paint off with a stripping pad or a wire wheel chucked in a drill. A new pad will probably tackle the whole rail in about 3 minutes total.
Edit: even better if you have an angle grinder, you'd probably be done in about 1-1/2 minutes with this
They're strip & clean disks. Here's a like to one kind: https://www.amazon.com/dp/B000BQURDI/ref=cm_sw_r_cp_awdb_t1_D5UYDbP2B9SJ1
I use New Wave sanding disks on my lathe. I make sure to use a foam backing when using them so I can use a light touch. Using the 400 grit from the start was not difficult to get through the stone.
Here is the kit to get started.
Haha no problem.
The little tape things underneath are teflon feet, they make the mouse a little more slick and also protect the original feet a bit.
https://www.amazon.com/CS-Hyde-Removal-Adhesive-Diameter/dp/B0099AMQGS/ref=sr_1_fkmr0_1?ie=UTF8&qid=1468707455&sr=8-1-fkmr0&keywords=mouse+feet+hyde
Fast or slow is honestly just up to you, I like mine a little more smooth but it's 100% preference. QCK is on the more control side, if you go on amazon and look up the reflex lab mousepad that's supposedly pretty slick though.
You can get them on amazon here CS Hyde Mouse Discs with One Side Clean Removal Adhesive, 0.002" Thick, 3/4" Diameter (100 pcs/roll) https://www.amazon.com/dp/B0099AMQGS/ref=cm_sw_r_cp_apa_i_TgUyDbS312CNQ
Also you can use carnauba wax on the board to make it slicker
3M NX is my go-to paper now. Amazon ramps the price down to like $4-6 a box until somone buys then back up to $17.09 (which is still cheaper than Mirka). It's good quality paper too.
Here's the 5" P180: https://www.amazon.com/dp/B00AW0JP9A/
Found this 2 for $36 https://www.amazon.com/Black-Decker-Pack-380278-00-380278-00-2pk/dp/B00GUU321S
Found this saying it "Might" fit go measure and double check. 2 for $10 https://www.amazon.com/Superior-Pads-Abrasives-RSP28-Sander/dp/B00CLCE6EQ/ref=pd_lpo_vtph_469_lp_t_1?_encoding=UTF8&psc=1&refRID=P1TWZ1GY3X35JDT2PN2Q
edit: Get the model number from your site and google that you might be able to find a better deal.
You hate sanding because you don’t have a good sander.
Buy this and some of these